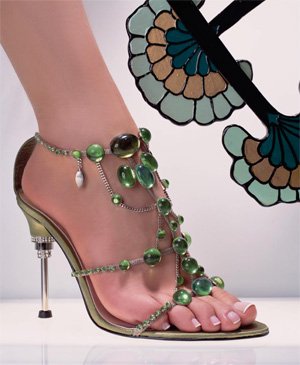
Summer is leaving us, so I thought I better squeeze this project in before it gets too cold to run around bare foot. I call these Bare Foot Sandals, and believe it or not, I’ve sold a good number of these down here in Florida. But, I don’t think you have to live in hot weather to enjoy making these cool sandals. In fact, my sister also made a pair of these for a friend of hers who was having a beach wedding in North Carolina. She used silver chain with mother-of-pearl beads and also made matching anklets for the female members of the wedding. I thought this was a great idea. For the sandals pictured, I used gun metal chain and findings (available from Rings & Things), and Czech crystal beads.
You will need the following to make one sandal:Approximately 31" of chain6 4mm Czech beads (or your choice of beads)5 jump rings1 "S" hook (you can make your own )6 eye pinsround nosed pliersflat nosed plierswire cutters
First, cut pieces of chain in the following lengths:3" (3 pieces)2" (3 pieces)1 ½" (2 pieces)1 ¾" (2 pieces)4 ½" (2 pieces)
Here is a diagram I drew that shows how these 12 pieces of chain are put together using eye pins with the beads, and jump rings for areas where more than two pieces of chain must be connected. If you worked with chain at all, such as making Y necklaces, this diagram is all you need to make these sandals. However, if you prefer to follow more detailed instructions, you can follow those outline in my article entitled "Step by Step Bare Foot Sandals." These were a real burger to explain, but I think between the diagram, graphics, and instructions, you can do it.
To wear them, the loop at the top goes over the second toe, and the rest of the chains rest flat against the foot. The ends of the chains are connected by wrapping around the back of the heel and looping the "S" hook over the jump ring. I wear a size 7A shoe. I think these could fit a smaller foot easily and probably go up to a size 8. To make a larger sandal, just make the 4 ½" piece of chain longer. They actually do stay on your feet. I’ve worn them around and, since my foot is so narrow, I can rarely wear anything that slips on. Shoes with buckles and ties work best for my skinny feet.
I love the idea of making these for a beach wedding, but they also would be fun for a cruise or a weekend away at the beach. We have a few months before we have to start wearing those sweaters, so I hope you get a chance to get away and wear some Bare Foot Sandals.
Take a look at my article entitled "Foot Jewelry" for more project ideas.
Here's a printer friendly version.
Comments? Questions? Ideas? Share them on the jewelry making forum.